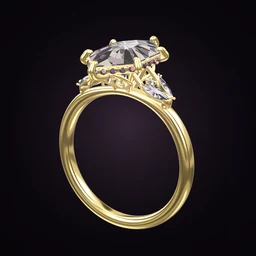
 Ring Studio
How to Design Your Own Engagement Ring
To design your own engagement ring, build it visually first, then hand that design to a jeweller who makes it. This guide walks through both halves: designing the ring in Ring Studio, and the commissioning process from first email to collection.
On this page
- Stage 1
- Design the ring in 3D (an evening or two)
- Stage 2
- Brief and choose a jeweller (1-2 weeks)
- Stage 3
- CAD render and stone sourcing (1-3 weeks)
- Stage 4
- Casting, setting, finishing (often 2-4 weeks)
- Timings
- Typical ranges; every jeweller differs
Part 1: design your own engagement ring in Ring Studio
Designing first means you walk into a jeweller with a clear picture rather than a vague idea, which saves revision rounds and makes quotes comparable. Here's a sequence that works.
Step 1: Gather references
Save photos of rings you like and note what you like about each: the shape, the thin band, the hidden sparkle. If you have a favourite photo, Ring Studio's AI can recreate the ring from the photo (Pro) so you can edit it. If you're starting cold, Surprise me and the style quiz give you designs to react to.
Step 2: Choose the centre stone
Pick the shape, then the size. Remember that some shapes look larger per carat than others; an oval or marquise spreads further across the finger than a round of the same weight. See the carat size chart for millimetre sizes. Decide whether the design calls for a diamond, natural or lab-grown, or a coloured stone. The 4Cs guide explains what you'll be choosing between when the jeweller sources it.
Step 3: Build the head
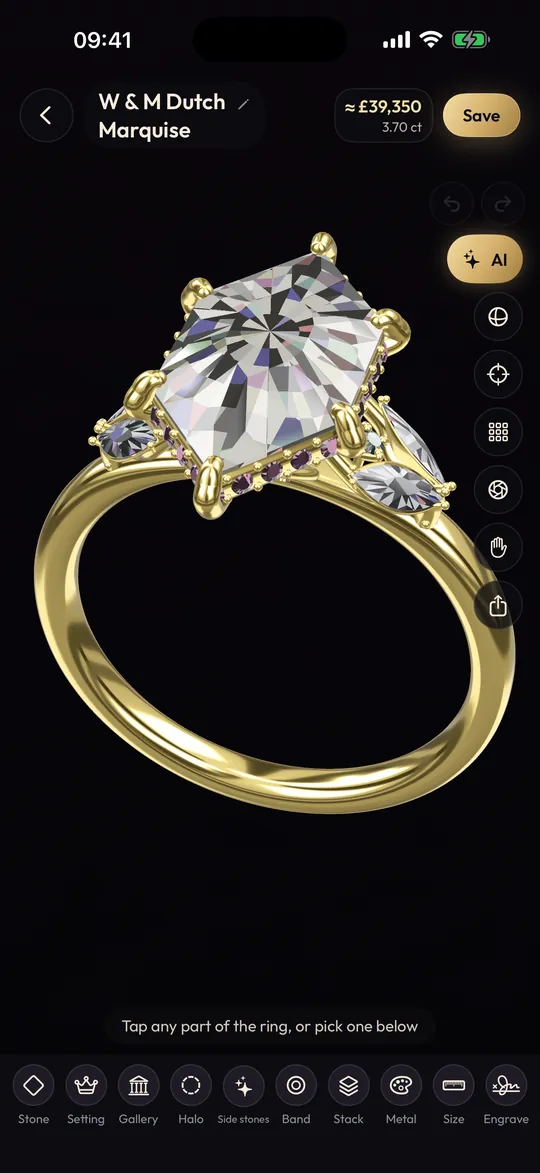
The head is the setting that holds the stone. Choose prongs or a bezel, the prong tip, a halo or none, and the gallery underneath. Rotate the ring to see each angle.
Step 4: Design the band
Choose the band style and width, straight or tapered. If you'll wear a wedding band too, stack one now (Pro) to make sure they sit together.
Step 5: Personalise
Add an engraving inside the band, or with Pro, hidden initials under the stone or on the band. These are the details people treasure most and they're easy to miss in a jeweller's brief.
Step 6: Check it on a hand
With Pro, try the ring on with your phone camera or on a 3D hand, and scan your hand to estimate ring size. Otherwise, follow our guide to measuring ring size at home.
Part 2: getting the ring made
Step 7: Choose a jeweller
Look for a jeweller or studio that does custom work and CAD in-house or with a trusted partner. Ask to see previous custom pieces. Send two or three the same brief so you can compare quotes. Our guide to working with a jeweller has a checklist of questions.
Step 8: Send a clear brief
Include:
- Screenshots from top, side and end-on.
- The options: stone shape, approximate carat, setting, prong tip, halo, gallery, band style, width, metal.
- A ring code if the jeweller uses Ring Studio (sharing codes is a Pro feature).
- Your budget range and whether it includes the stone.
- Ring size and your deadline.
- Metal karat preference, which the app doesn't set; see 14k vs 18k gold.
Step 9: Approve the CAD
The jeweller rebuilds your design in professional CAD software. Ring Studio doesn't export STL or other manufacturing files, so this step is essential: it's where real measurements such as prong thickness and band depth are set. Compare their render with your design and check the side view carefully. Some jewellers print a resin model you can try on.
Step 10: Stone, casting, setting
The jeweller sources the stone, ideally with a certificate (see diamond certificates), casts the metal, sets the stone and polishes. In the UK, gold and platinum items above certain weights must be hallmarked; our hallmarks guide explains the basics. The full process is in how custom rings are made.
Design your own, or buy a ring that's close?
Designing your own doesn't always mean commissioning. Once you have a 3D design, you may find a stock ring that matches it closely, which can be quicker and sometimes cheaper. Use your design as a checklist when you shop: same shape, similar setting height, same band width. If nothing comes close, commission it. Our comparison of custom vs off-the-shelf rings weighs up both routes.
Things that commonly go wrong
| Problem | How to avoid it |
|---|---|
| Ring doesn't match what you pictured | Send 3D screenshots, not just words; approve a CAD render |
| Wedding band won't sit flush | Stack the band while designing; ask for a contoured band |
| Over budget | Compare stone types and carat using the live estimate before briefing |
| Wrong size | Measure properly; avoid eternity bands if unsure |
| Delays before a proposal | Start two to three months ahead |
More pitfalls are covered in engagement ring mistakes to avoid, and costs in how much a custom engagement ring costs.
Frequently asked questions
Is it cheaper to design your own engagement ring?
It can be, because you're paying for exactly what you want and can choose where to save, for example a lab-grown stone or a simpler setting. But custom work includes design and CAD time, so a simple custom ring isn't automatically cheaper than a similar ring off the shelf.
Do I need design skills to design my own ring?
No. In Ring Studio you choose from real ring parts and see the result in 3D, or describe the ring in words and let the AI build it. The jeweller handles the technical CAD work.
How long does it take to have a custom engagement ring made?
Often around three to eight weeks after you approve the design, depending on the jeweller and how long the stone takes to source. Allow extra time for revisions.
Can I supply my own stone?
Many independent jewellers will set a stone you provide, though some won't take responsibility for damage during setting. Ask before you buy.
What should I bring to a jeweller?
Screenshots from the top and side, the list of options you chose, your ring size if known, your budget and your deadline. A ring code works if the jeweller uses Ring Studio.